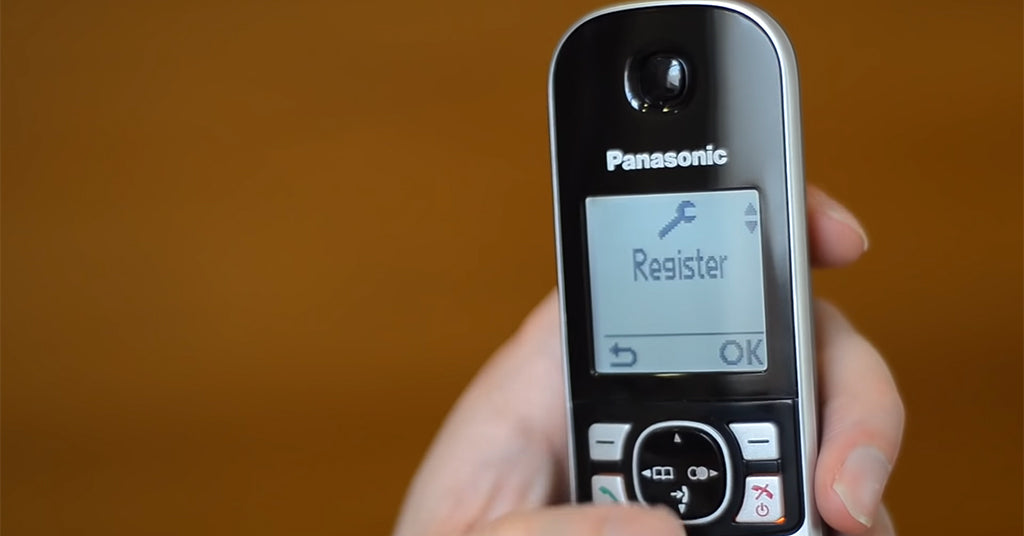
Whether you've got a whole new set of Panasonic phones to set up, or have just bought an additional handset for your existing system, you may need to register a handset up to your base. This is a fairly straightforward process when you know what you're doing, but some users may need a little help. That's why we've put together the following video guide to take you through things step-by-step. You'll also find written instructions below, if you'd rather take things at your own pace.
Related: Top 5 Best Panasonic Cordless Phones
First of all, on the base unit, press and hold the "paging" key for approximately five seconds. Some unit may beep, some may not, but as long as you've held it for at least five seconds, your system will then be in registration mode. You'll know if you haven't- your current handsets will all start ringing!
With that done, take the handset you want to register, and open the "settings" or "initial setup" menu. In there, scroll down until you find "register handset", and press okay. It will then tell you to hold the paging key- but since we've already done that, just press okay again.
At this point, the phone may ask you for a system PIN. This will be "0000", assuming you haven't changed it.
Once that's done, the phone handset should now be registered and ready to use! If it hasn't, then your best bet is to just repeat the process again from the beginning. The base station will only stay in registration mode for a few minutes, so you need to make sure you instantly start registering the phone.
We hope that you have found this guide useful. While some models of Panasonic phones may have slightly different menu setups, the registration process is more or less the same on all of them. If you need any more help with setting up your Panasonic cordless phone, then our customer service team will be more than happy to help!


